
As a puzzle creator, I build challenges that unfold like petals around a central idea. A printable rose stencil becomes the map for careful moves, inviting you to plan, trace, and color with a strategic eye. The moment you print a stencil, you switch from spectator to solver, turning a simple craft into a small, satisfying quest.

Lines, curves, and symmetry turn this floral motif into a puzzle you solve with tools and technique. The act of tracing invites you to anticipate gaps, adjust your hand, and imagine how shading will reveal depth. Each petal acts like a clue, guiding you toward a balanced composition. Treat the stencil as a map where every minor deviation is a new twist you must resolve before the final color block. This approach keeps the activity engaging while remaining approachable for learners and crafters alike.
Planning the layout
Begin by sizing the stencil to fit your project. Think of it as a grid-based puzzle: start with the largest outer contour, then unlock the inner petals. Place the stencil on your surface with a touch of tape, so it won’t slip as you map the edges. If you plan a two-layer design, decide which petals get the foreground treatment and which recede into background shadows. Visualize where highlights will land and how many color shifts you want to include. The more you sketch the plan before you trace, the cleaner the final piece. If you want a tougher challenge, sketch a quick contour guide first and then erase as you trace the final lines. This prep primes your hand for precise, puzzle-like execution.
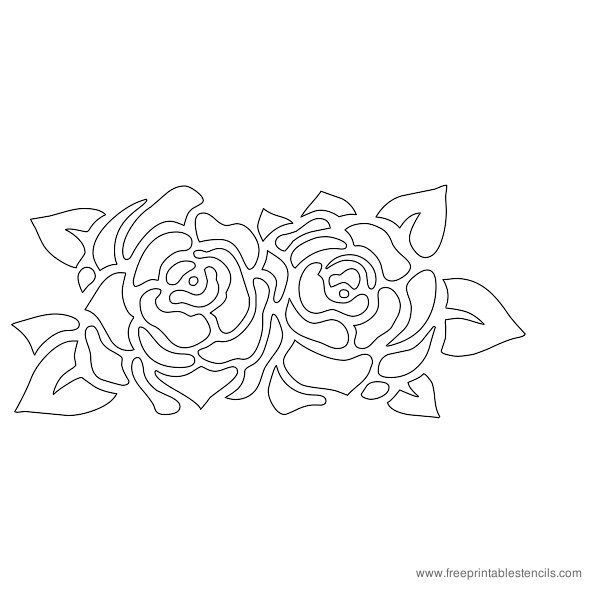
Tactile transfer methods
To move the design from paper to fabric, wood, or card, use a light touch and reliable tracing method. Graphite transfer through parchment or a window works well, while a soft pencil on the underside of the stencil makes a fine track on your material. If you’re working on fabric, hold the stencil in place with low-tack tape and use a fabric-safe graphite or chalk marker to preserve the lines. The trick is to keep your strokes confident and even, like a steady solver moving through a puzzle. If the surface is slick, consider a light spray adhesive on the back of the stencil to prevent shifting. This little step saves you from reworking a misaligned edge.

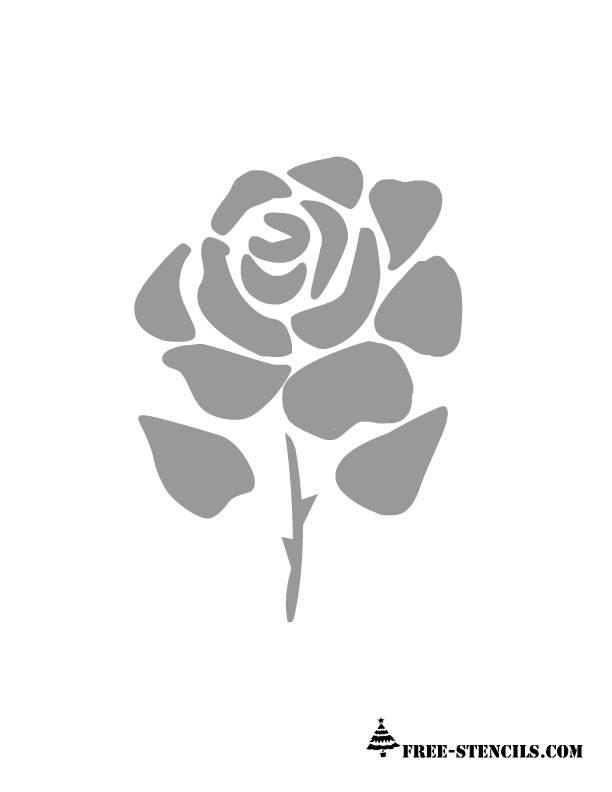
Once you have clean lines, you can transform the printable rose stencil into multiple projects: wall art, greeting cards, scrapbooks, or journal covers. For coloring, try layering several tints to create depth—think of petal edges catching light and inner folds pulling the eye inward. You can also turn the stencil into a mini puzzle by applying a color-by-number plan or a grayscale shading map. If you keep a small notebook to record which shading choices worked best on which texture, you’ll have a real puzzle-solving toolkit for future crafts. With a little practice, the printable rose stencil becomes not just a template but a catalyst for creative problem-solving across surfaces and media.