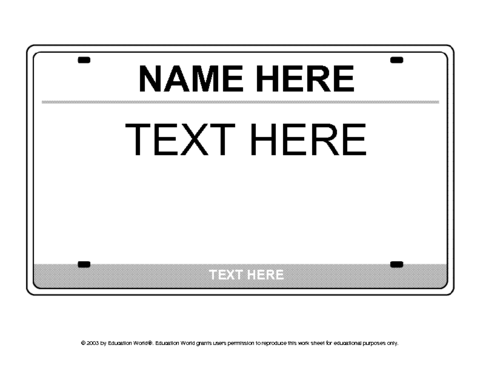
As a worksheet designer, I frame the printable license plate as a hands‑on learning tool. This opening aims to clarify spacing, labeling, and personalization so students or hobbyists can complete a neat, reusable project with confidence.
These pages start with a simple layout that mirrors real‑world plates, with bold lines for letters and numbers. You can print them on standard letter-size paper and cut along a neat border. The printable license plate concept supports visual discrimination, spelling, and pattern recognition. The toolkit is designed for flexible activities that work at a desk, kitchen table, or classroom corner. By using consistent spacing and a clear border, you reduce setup time and keep outcomes tidy. The idea of a printable license plate also lends itself to digital sharing and classroom-friendly reuse across weeks.
Materials and setup
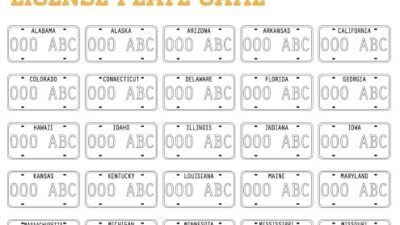
Start with a clean template: choose a simple rectangle, divide it into spaces for letters and digits, and mark margins so every practice page stays aligned when printed. Select a legible font and a high-contrast color scheme to maximize readability. If you laminate the sheet, it becomes a durable reusable activity for spelling, math drills, or color coding. Leave room for students to personalize with colors or themes, which increases engagement and retention. In addition, guide learners to label each column or block so they practice organization and sequencing. Encourage learners to annotate the back with a brief reflection on what they learned and how they used the space.
For a math twist, assign each plate a number and ask students to add or subtract to reach a target, or practice even/odd by marking digits. For language work, create words that fit the plate spaces, then check for vowel patterns or consonant blends. You can customize templates with students' names or favorite themes to boost engagement. Use the same layout across multiple lessons to build progression and confidence. Consider pairing plates for peer discussion, where learners explain their choices and spellings. Keep a simple progress log to track improvement over time.
Design considerations
Think about accessibility and ease of use as you finalize the file. Use high-contrast colors, thick border lines, and ample whitespace so the plate spaces are easy to see from a distance. Provide a blank version alongside a filled example to scaffold learning and reduce guessing. Keep margins consistent so cutting and assembling remains straightforward for mixed-ability groups. Test the print on different printers or copiers to ensure alignment holds across devices. Offer a larger font option for students with visual needs and consider tactile or raised-line versions for kinesthetic learners.
Print-ready files should be organized in a simple folder structure: one master template, a student-name version, and a teacher answer sheet. When possible, offer both color and grayscale options so printers and laminators can accommodate different budgets. Include brief instructions on the page itself to minimize setup time during class or tutoring sessions. A short checklist at the end helps users verify that page borders, margins, and font sizes remain true after printing. Provide a quick example fill so users see expected results before students begin. Include notes about color palettes that are color-blind friendly and easy to reproduce.
With thoughtful design, a printable license plate becomes more than a craft; it supports practice, assessment, and independence. It travels well from classroom to kitchen table and adapts to many ages and abilities. By combining clear guidance with flexible activities, you turn a simple printable into a durable learning habit. This approach scales from one-page activities to full lesson sets and invites ongoing feedback to refine templates for future students.