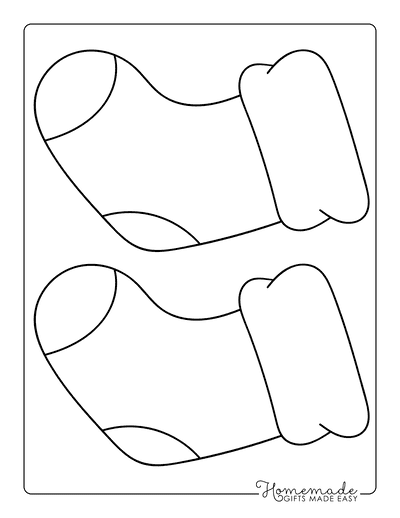
Discover how a free printable stocking pattern pdf can turn simple fabric into a cherished holiday keepsake. This activity-book style intro walks you through clear steps, kid-friendly details, and practical finishing tips. Grab colored pencils and scraps to practice.
Using a stocking pattern pdf means you'll have a clean, reusable template you can print at home and size for different projects. The pattern typically includes the main body, a cuff, and a toe piece, with simple seam allowances clearly labeled. It's friendly for crafters of all ages, turning a sewing project into a small, solvable puzzle: cut, stitch, press, and finish. When you print, choose a plain sheet and check scale against a ruler; this keeps your stockings even and tidy. It also supports experimentation with color blocking and pattern matching.
Free Printable Stocking Pattern PDF
To get the most from a free printable stocking pattern pdf, gather a few materials: sturdy fabric for the outside, soft lining, felt or embroidery floss for details, fusible interfacing for shape, and basic sewing supplies. Start by cutting out the pieces on scrap fabric to test fit, then fuse interfacing to the main body for crisp edges. Assemble the cuff separately, then stitch the body to the cuff. Optional decorations like appliques, buttons, or hand embroidery add personality. Finally, stuff with lightweight filler and finish with a gentle press; your stocking should stand up proudly on a mantel or shelf. Try fusible interfacing on the cuff for extra structure. Keep a spare piece of fabric to test stitches.
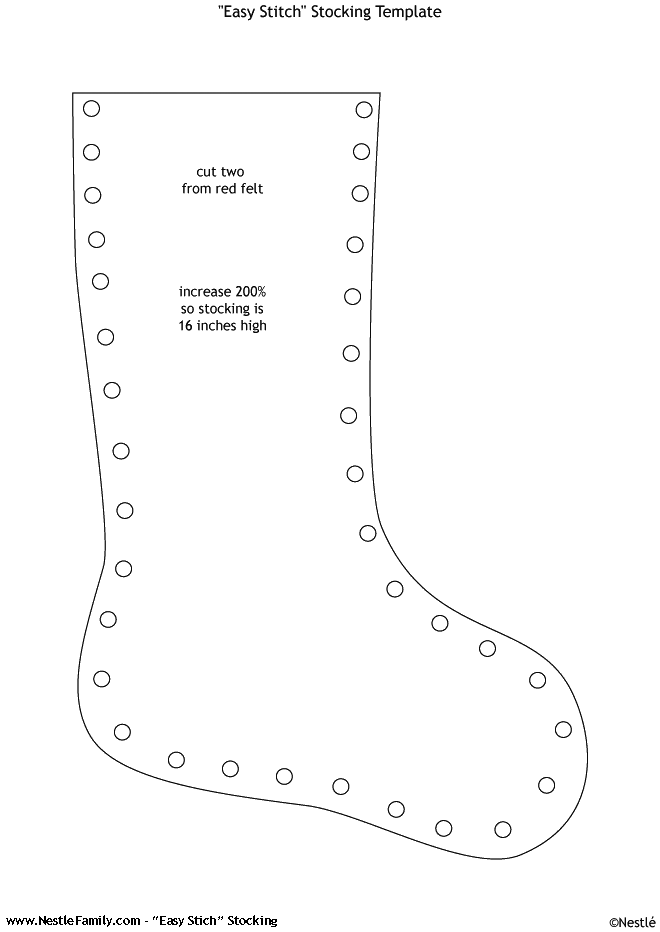
Stockings from a pattern pdf invite personal touches: choose fabric that matches holiday color schemes, blend textures (canvas, velvet, or plaid flannel), and adjust the size by scaling the pattern slightly with care. If you want family stockings, duplicate the template and swap colors or motifs to keep them unique. A lined version feels more durable, and a pocket or loop on the back can turn each stocking into a mini ornament holder. For kids, add a small pocket with a pretend gift tag and a crayon-friendly label for name practice. Tucking a small pocket inside makes a playful surprise for a holiday treasure.
Finish and display
Finish matters as much as fit. Clip seam allowances, press gently with a low heat iron, and avoid heavy steam on delicate fabrics. If you're new to sewing, use a simple straight stitch or a zigzag to secure raw edges. A small amount of batting or polyfill makes the stocking pleasantly plush without bulk. Attach a ribbon loop or a sturdy hanging cord, and consider a washable fabric marker to personalize names afterward. When you're done, test a gentle tug on the loop to ensure durability. A quick photo journal of each project helps you replicate successes in future stockings. For a polished look, top-stitch along the cuff edge and consider using a narrow seam allowance.
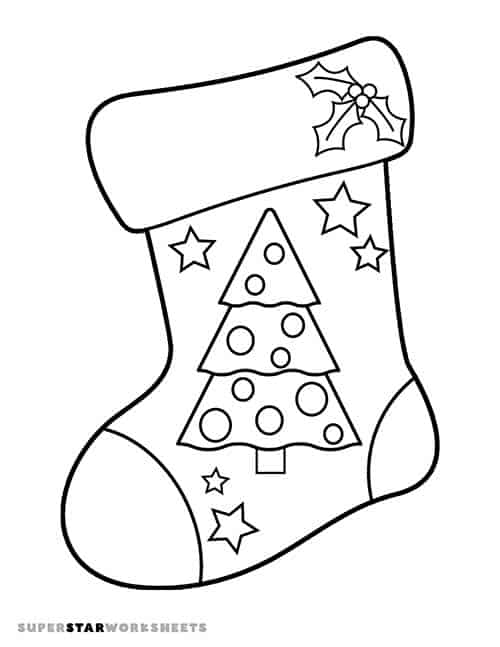
Care and reuse improve with smart storage. Keep the printable pattern pdf in a dedicated folder with clear version notes, and print a fresh copy for each size you need. Store fabric swatches and leftover trims in a labeled box so color matching stays quick. A simple grid checklist helps track steps: cut, fuse, stitch, cuff, finish. When the holidays roll around again, you'll have a familiar, joyful process rather than a scramble. Label each folder with dates and pattern versions to stay organized across years.
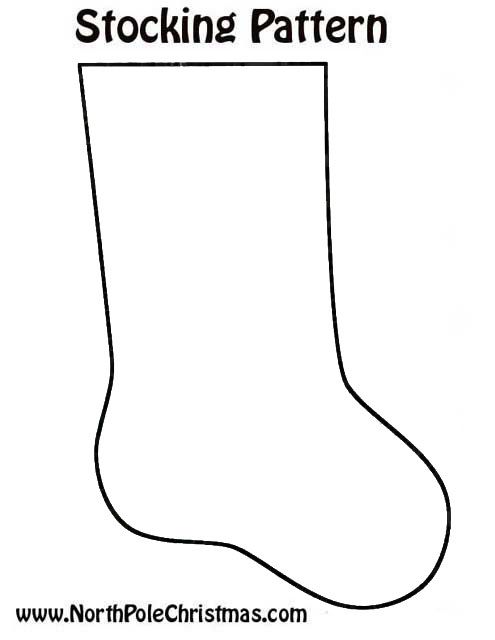
Experiment with multiple patterns from your favorite printable libraries to build a small family set or gift toppers. The best part is the learning-by-doing rhythm: you gain confidence, enjoy a hands-on craft, and end with ready-to-hang stockings that spark memories every year. Share your finished stockings with a craft club or donate extras to a local charity to spread the holiday cheer.